Search This Blog

Monday, July 22, 2013

Tenugui -- Part 2


Well, a bit more than 2 years ago when I wondered if I should take up blogging (and then soon quickly forgot about my blog) I wrote my second post on tenugui. Somehow that post actually did generate some traffic on my 2 post blog. So, I thought I'd pick up the topic again and show something of the combined collection of my mother-in-law and myself.

This morning when I was pulling out her old tenugui to snap some current photos, it hit me that we will be marking 20 years since her death this summer. I suppose I could say that she's my idol when it comes to a favorite word of the Japanese: "gaman" (self control perseverance). During the WWII and the aftermath, she suffered severely and lost everything she owned, including one of her newborn twins. But, she never moaned about how hard her life was, she just kept on with the daily struggles of life providing for her children, without her husband. She would have had every right to begrudge me, born in enemy territory and with limited language and life skills in Japanese, when I joined the family but instead I deeply felt a mother's love within her. Well, I'm getting a bit choked up so will move on to what I wanted to show today and tell about.

I started off mentioning my mother-in-law in part because I wanted to note that by the time she passed on in 1993 she still had few possessions. We only have a few paltry boxes containing her life's belongings. After her death, one of my brother's-in-law sorted through her things stored at our house and put many of them in the trash. Sadly, I was shocked that he threw out her kimonos but felt that I shouldn't intervene as she wasn't my mother and I didn't want to cross any boundaries. But, I'm glad that he did keep her collection of tenugui! Maybe he realized that they held sentimental value for her...

I am a collector by nature. I like things that bring nostalgic feelings in a hazy glow that improves upon what was a mundane reality. Mother-in-law's old tenugui do just that. They are historical everyday life documents of the Showa Era in Japan.


What are tenugui? They are traditional, thin, cotton, Japanese towels that served a variety of purpose. They have a fairly standardized size. Mother-in-law's older ones measure 32 X 85 cm. Ones created these days are slightly larger at at 35 X 90 cms. They are generally hand-dyed and hand-stenciled. The ones in my mother-in-law's collection weren't purchased but rather passed out as advertising or as a commemorative of a special event, such as a new town hall or the like. How were and are they used in everyday life? Well, most people no longer wear geta but back in the day if the toe string broke you could rip off a section of a tenugui and repair your footwear! I live in green tea country. Even today you can find women working in the tea fields who cover their heads with one and then maybe put a big Sunbonnet Sue type hat over that for good measure. You might also see them rolled and tied around the head of a fish monger, a carpenter, or any other variety of manual laborer to keep sweat from their brow. You'll see them tied around heads during festivals too. Studying hard for that big exam? How about one around the head to remind you that you'll pass? But, they were and probably still are a standard kitchen towel in many homes. Need a cover for a cooling pot of rice? It will do just dandy. My husband has told me that it was the sort of towel he used as a child when he went off to the public bath each evening. To this day, after more than 30 years of marriage, we still bicker about the best sort of bath towel. He uses what replaced the tenugui -- a very thin terry cloth towel that is a freebie when you stay at a Japanese inn or given out as advertising and I prefer the big thick American-style bath towel that takes forever to dry during humid and cloudy weather. A tenugui's thinness definitely has the advantage over either of them as it dries very quickly!

Ok, enough blab, here are some selected photos from our combined collection:
Can you see the stylized rice plants on this one?


Wow! What artwork! The little town that this one came from was swallowed up in a conglomeration in 2005.


I can't recall how long ago I received this one from "Nodan Kenpo" as advertising. Maybe 10 or 15 years ago? In Japan, cool English usually includes "Let's"....


Well, this one is easy to identify the age of -- 30 years this month! Build a new town hall and pass out a tenugui!

Here's another commemorating a new building.


I love when they are dated! This one is 50 years old! It's obviously celebrating a Sports Day event.


Advertising from a futon shop suggesting you'll have good sleep with their products. I love that old style of writing a phone number!


Here's one for a dry cleaner suggesting the god of good fortune will take care of the job! It's another with a classic style of writing a telephone number that you wouldn't see with today's more complex numbers.


I thought it was a bit hysterical that this one has seen the most of age related spotting. My kanji reading ability isn't that great but I know the ones for "sewage" when I see them! Ah, harks back to our life before moving away to better and newer housing when the "vacuum car" made a bi-weekly run and I was assigned to pay him!


Well, these shown above give a general idea of design possibilities.


Now, here are a couple that I think would have been greatly improved if they'd left out the English and just kept the classic artwork:


In my original tenugui post, I said that I was thinking of using them where my classic scroll had hung before it suffered it's final blow in the March 11 disaster of 2011. So, I'll show some of the ways I've changed the look for the season with modern tenugui:

                             June, when my deep blue hydrangea is at its best.


July and August during Obon season
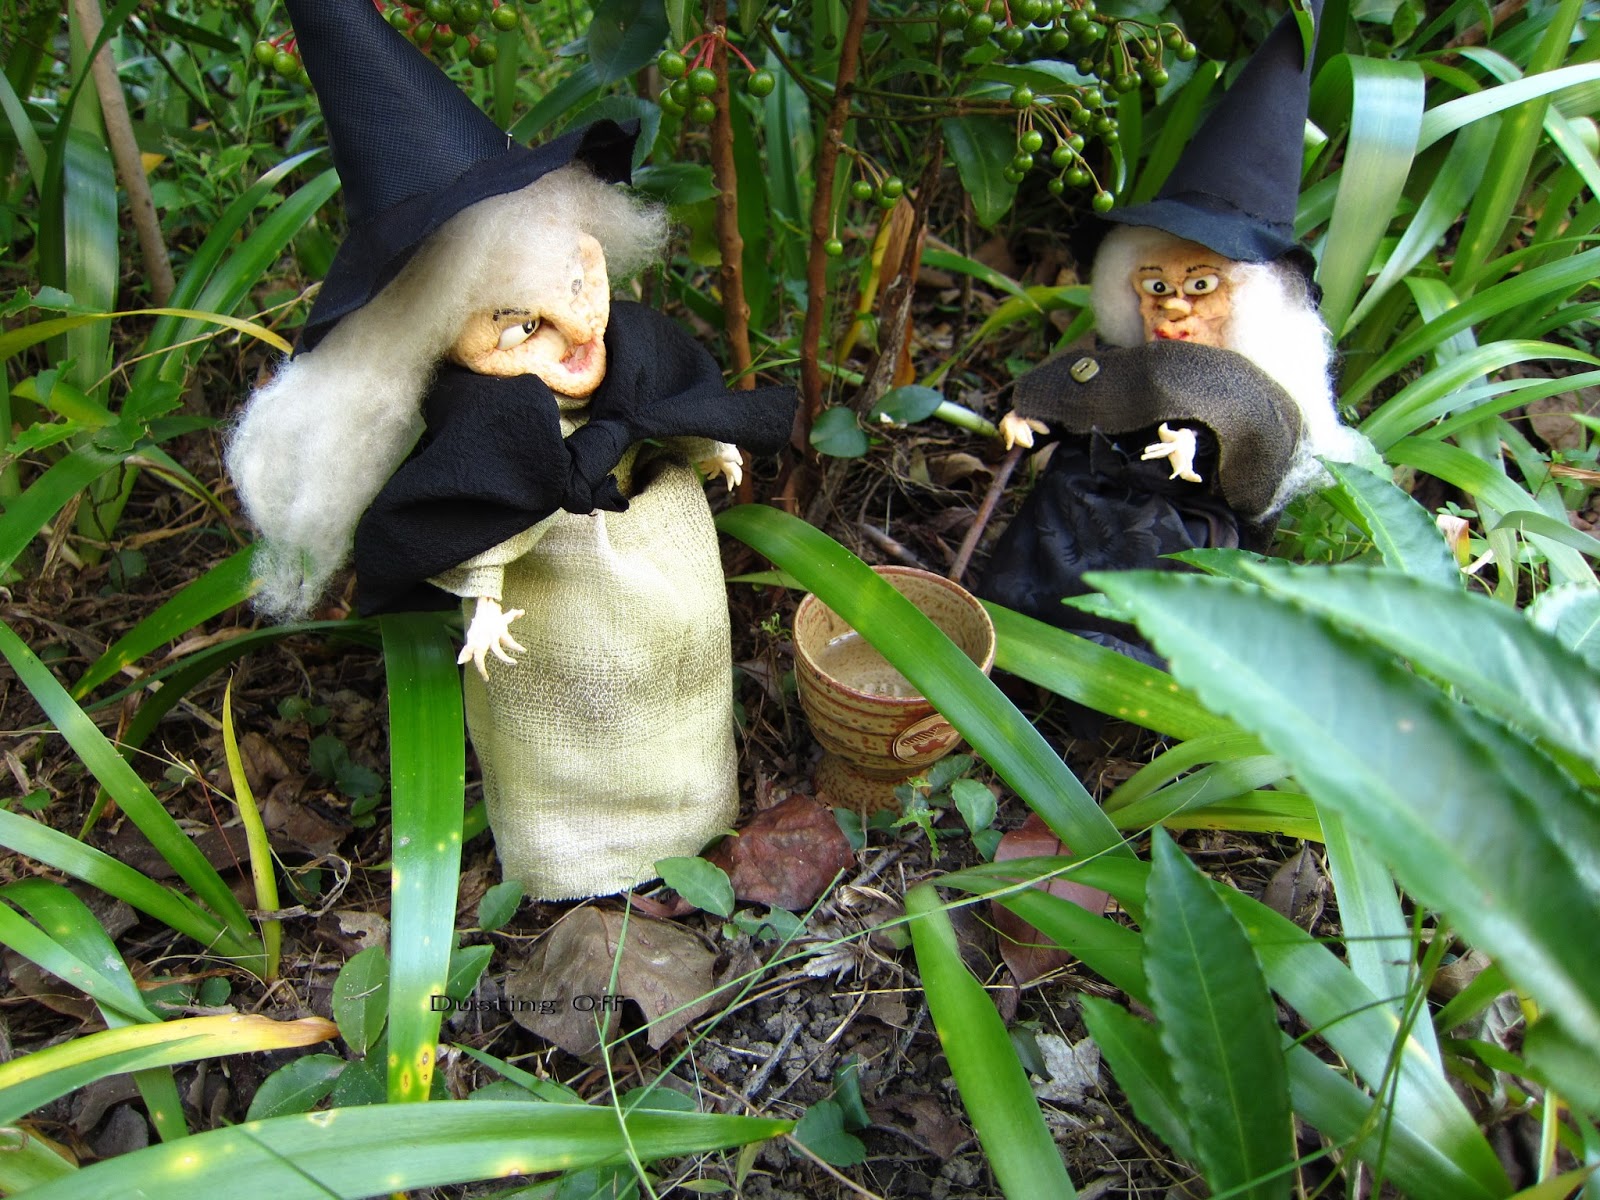


Halloween


Christmas
 
My collection is ever growing and expanding when I spot another that catches my fancy. The ones shown here are by no means all that I own. Some recent ones that I purchased cost over 1,000 yen (about US $10). Ouch!


Sunday, July 21, 2013

My pathetic July garden...


Summer is definitely here or should I say "hear" as the cicadas have started their incessant early morning whine. I hate the Japanese summer as it is just so hot, and humid, and endless... We have no big travel plans this summer so I really need to psych myself up for the simple pleasures of a summer spent in puddles of sweat. It's a little early for the wonderful fireworks displays and nighttime festivals. My morning glory put out a week or two of beautiful light purple flowers and then promptly seemed to die. It never grew more than a foot or two tall and now seedpods are forming!
I have been enjoying my green backyard this year, though. Last autumn I finally found some "lace" curtains for the living room window that would fit their unusual height so bought them. They were super cheap at a Jusco, off the shelf, but were a major disappointment when I got them home. For one thing, they were just a wall of white and totally blocked out the outside view. They were replacing an ordermade cream colored curtain that had been hanging for nearly 25 years. But, those had become so damaged from UV rays that even the slightest pressure when opening them would cause a new tear and soon me with a needle and thread trying to delicately repair another spot. Anyway, I tea stained the new curtains to match as close to the other less damaged ones in the room. As they were so opaque we took to opening the lace curtains during the day and now it's become habit. Suddenly, we can enjoy the fruits of our labors in the 25-years and growing backyard. It was just rocks and rubble when we got the house. The wall of green delights me each day. The survival of the fittest plants, including some volunteer trees, are reaching maturity. I only wish the people who have the neighboring house felt the same about gardening as late last summer they had a crew of senior citizens "Silver Service" come in and shave every single plant in the backyard down to the nub!
I enjoy flower arranging and clip greenery through the year to bring a bit of the outdoors inside. Today, I chose the smallest leaves of a funky plant my husband rescued more than 20 years ago. At the time, he misidentified it as a maple. But, it is great for ikebana and would certainly work better than a fig leaf for protection as fig leaves are downright itchy!
 
 
As I said, we have to no big travel plans this year. My RA is stable and my health has been improving by leaps and bounds over the past couple of years. So I decided to give gardening a little more attention than I have in the past decade when poor health took over my life. Before my husband could plant another pathetic watermelon in his jumbo sized planters, I snuck in some tomato plants, eggplants, cucumbers, basil, marigolds, nasturtiums, parsley, and shiso. I was looking for companions plants and my husband was calling them a new Japanese term that was something like "bridal plants".


Within 6 weeks of planting, I got the first cucumber and mini-tomato on June 25.


Rainy Season was mostly a no show this past June. I think we will have serious water shortfalls by August if things don't improve. This morning, I took a few shots to record how things are growing. Over the past month, we've already enjoyed several regular sized tomatoes from the 2 plants I purchased. They were a branded type that are often seen in the supermarket so promised a good taste. I grew up on a farm, with a massive vegetable garden, so sniffing that weird tomato fragrance when you brush against the leaves is an added nostalgic bonus for me. I know I can't count on having the same bumper crop next year as tomatoes are heavy feeders of the nutrients in the soil and shouldn't be planted in the same spot a second year.


One of my favorite summer flowers, that always produces masses of blooms no matter the heat, is the portulaca. I usually plant several starter plants and enjoy them until late in the early winter kill-off. This year, I experimented with a packet of seeds. I've NEVER had luck with planting seeds in Japan.  I had high hopes when masses of early sprouts came up with the seeds this year, though. Now, into July, there is one lone plant and looks as if it will bloom soon. Guess I should have stuck with starters as I would have been enjoying flowers weeks ago!


I had high hopes for refreshing summer drinks of lemon and mint when I planted a spearmint and peppermint plant a few months back. Indeed, I did enjoy a container or two. But, now mid-July, they look absolutely pathetic. I'm not too worried as I know they will probably take off and be as hard to kill off as that pesky lemon balm in garden. But wait, how did I kill off their predecessors?


Ah, I had so much hope for future rhubarb pies? Looks like one plant has died and the other is attempting a final stand. I killed off the previous plant by moving it too often. This was the first time I have seen rhubarb in my neck of the woods as I brought the former one down from Nagano about 20 years ago.

 
I don't have many stellar ideas on how to use rosemary. This plant looks pretty pathetic. It may just take off yet. Hopefully, by then, I'll have found a few nice recipes to use it in.

 
Love to see a rose in bloom! Nice bonus this morning when I spotted it.

 
Here is a goya, the so called "green curtain" plant, that everyone is urged to grow for eco- friendliness. I planted 2 this year. They still aren't tall enough to cover a window yet, though.


For some variety, I planted a yellow mini-tomato besides the standard red ones. So far the red is producing far more fruits.


Waiting for dinner in a
 few days time is the tomato below.
 
The mini-tomatoes that got a planter of their own are doing great.

 
Basil and tomatoes are supposed to be good companion plants. I've been picking basil nearly every day to add to lunch and dinner. My previous attempts of a lone basil plant produced a pathetic wispy plant that the bugs soon devoured. So, this has been a resounding success!

 
And, finally, the smell of an aging Japanese taxi driver's hair tonic has now been revealed as the scent of the kinkan (kumquat)!


Friday, July 19, 2013

Waldorf doll


For Christmas 2010 I decided I wanted to make a doll for my little granddaughter. Well, actually I visited several toy stores first before deciding that toys just aren't as nice as the ones I was able to find when my own kids were little.  So I looked on the web for some inspiration on how to make a handmade doll. That's when I came across instructions for making Waldorf dolls. I'd never heard of them before as I was living in something of an information vacuum here in Japan for a few decades! So pardon my ignorance...

Step one, amass materials to work with. I already had basics such as silk thread, scissors, marking pencils, embroidery floss, thimbles, and cotton batting. So, I just needed to find some nice fluffy wool, new socks in neutral colors, and specialized needles for the project.

It's been nearly 3 years since I made the doll so at this point I'll need to find another website to refresh my memory on some of the nitty-gritty details. But, basically you create a ball from the wool. I used some cotton batting as a base before surrounding it with the wool as I didn't have a lot of wool to start with and I'd made a trip into the city to search for what I did have.

Then, you create cranial and facial definition by wrapping thread (or string) around that woolly ball. The first length of threads (or string) goes around the ball vertically, right at the central point, a couple of times, and is pulled tight. Then, you wrap the next length of thread (or string) horizontally about 2/3 of the way down a couple of time, pull tightly, and tie off . If I remember correctly, you need to add a few stitches through the ball to hold those threads (or strings) in place.


I found that without a nose I thought it looked a bit creepy so added a bit of extra wool for that and stitched it in place. After that, you place the sock over the ball of wool, tie the neck tightly with sturdy yarn, and embroider on eyes and a mouth. You'll only need a few stitches to create those facial features on the sock as the inner woolly ball is a bit of magic! Place the stitches thru the head and tie off in back. That will be covered over when the hair is added on.


The second sock becomes the legs and torso.


You snip the sock which creates the head down to about the heel and then stuff it You'll soon use the excess so don't throw it away!
 
First, stuff the feet of the doll with little round balls of wool to form feet. Add the head and continue to stuff the torso with the extra wool to make it soft and cuddly. Stitch the head to connect on to the torso. Use the foot portion of that first sock to create arms for the doll. Stuff the hands with a little ball of wool each, then stuff the arms, and stitch them down to the torso.

Hey, that wasn't hard at all!

 
Now add some hair.

 
How about a touch of reality with a tush?


I gave her a belly button too! I wasn't sure how far to take the gender identification bit, though.


Finally, she needed some clothes. As I had started out with a pack of socks that included cream and pink tones too I used them to make her little outfit.
 
I thought it came out fairly well for my first attempt. Now that I've given myself a refresher course by writing this up, I'll need to set to work sometime in the coming months to make another for my second granddaughter.
 
This doll was created in 2010.

It starts with an apple

Anyone remember apple head dolls? Back in the '60s, I remember a neighbor making one and it was  fascinating to learn it had been made from an apple. Fast forward to the year 2011 in Japan. I had some beautiful Fuji apples in my frig that my husband brought home. But, were they really safe to eat, what with concerns about radiation? Yes, we were told that food was being monitored... Nobody really knew if we could believe that yet or not. They sat and sat and I just didn't feel like eating them. Ok, I decided that I'd play around with them by trying out  some ideas for apple head dolls rather than actually consume them. Apples are expensive here and at another time I really wouldn't have felt like wasting them if it was a failure in the humid conditions that I would be working in.


First, pare a head shape. I did two.


With some of the extra shavings I made a set of hands for each. I thought one of the heads looked too much like a monkey so also created a nose. I made it a little big as I had no idea how much it might shrink down in size.

 Next, soak the parts. According to sites I found on the internet, you should soak them in either salt water or water with lemon or lime juice and for 5 minutes or even 1 hour. Not having a clue what I was doing, I erred on the side of caution and soaked them in salty lime water. Hmmm... Might have added some tequila and made a day of it but I don't drink. I left them in the water for an hour and made sure all sides were coated. Apples float and bob around so I had to check them from time to time.


Then, I added a wooden disposable chopstick to each and used some bamboo skewers to anchor the hands.


Next, I propped them in a cup to dry. I added a deeper hole for the nose on the one.
 A few days later, I added some white beans for eyes. With a magic marker I added some pupils.
 
Japan is still hot and humid in the autumn and I worried that they would mold. So on sunny days I put them outside for a few hours. I covered them with a mesh strainer so hungry crows wouldn't carry them off as a tasty snack. But, oops, the noses got a bit sun burnt!
  In total, it took about 2 weeks for them to be dried enough to be ready for the final step of turning them into dolls.


You can see that there was quite a leap between the dried heads and the final look. But, it really wasn't that hard. I had some white wool left-over from another project that was placed for hair. I added a few grains of rice to give teeth to the old hag with the open mouth. Jars filled in for the bodies and I just covered them with some cloth. I actually used a bit of my own make-up for enhancing their complexions and lips. I loved how the lip stick ran on the one with the long nose as she really reminded me of a scary old maid relative I knew in childhood and how she'd quiver her old lips and lean in for a kiss! Gah! Run away in terror!


I even played around with them in the garden and let them stir up a brew!
 
 
Nag, nag, nag, when will the old hag be quiet!


 Wow! What's in that trick or treat bag?


Created in 2011. They actually held up for nearly a full year!