Anyone remember apple head dolls? Back in the '60s, I remember a neighbor making one and it was fascinating to learn it had been made from an apple. Fast forward to the year 2011 in Japan. I had some beautiful Fuji apples in my frig that my husband brought home. But, were they really safe to eat, what with concerns about radiation? Yes, we were told that food was being monitored... Nobody really knew if we could believe that yet or not. They sat and sat and I just didn't feel like eating them. Ok, I decided that I'd play around with them by trying out some ideas for apple head dolls rather than actually consume them. Apples are expensive here and at another time I really wouldn't have felt like wasting them if it was a failure in the humid conditions that I would be working in.


First, pare a head shape. I did two.

With some of the extra shavings I made a set of hands for each. I thought one of the heads looked too much like a monkey so also created a nose. I made it a little big as I had no idea how much it might shrink down in size.


Then, I added a wooden disposable chopstick to each and used some bamboo skewers to anchor the hands.

Next, I propped them in a cup to dry. I added a deeper hole for the nose on the one.


Japan is still hot and humid in the autumn and I worried that they would mold. So on sunny days I put them outside for a few hours. I covered them with a mesh strainer so hungry crows wouldn't carry them off as a tasty snack. But, oops, the noses got a bit sun burnt!
In total, it took about 2 weeks for them to be dried enough to be ready for the final step of turning them into dolls.


You can see that there was quite a leap between the dried heads and the final look. But, it really wasn't that hard. I had some white wool left-over from another project that was placed for hair. I added a few grains of rice to give teeth to the old hag with the open mouth. Jars filled in for the bodies and I just covered them with some cloth. I actually used a bit of my own make-up for enhancing their complexions and lips. I loved how the lip stick ran on the one with the long nose as she really reminded me of a scary old maid relative I knew in childhood and how she'd quiver her old lips and lean in for a kiss! Gah! Run away in terror!
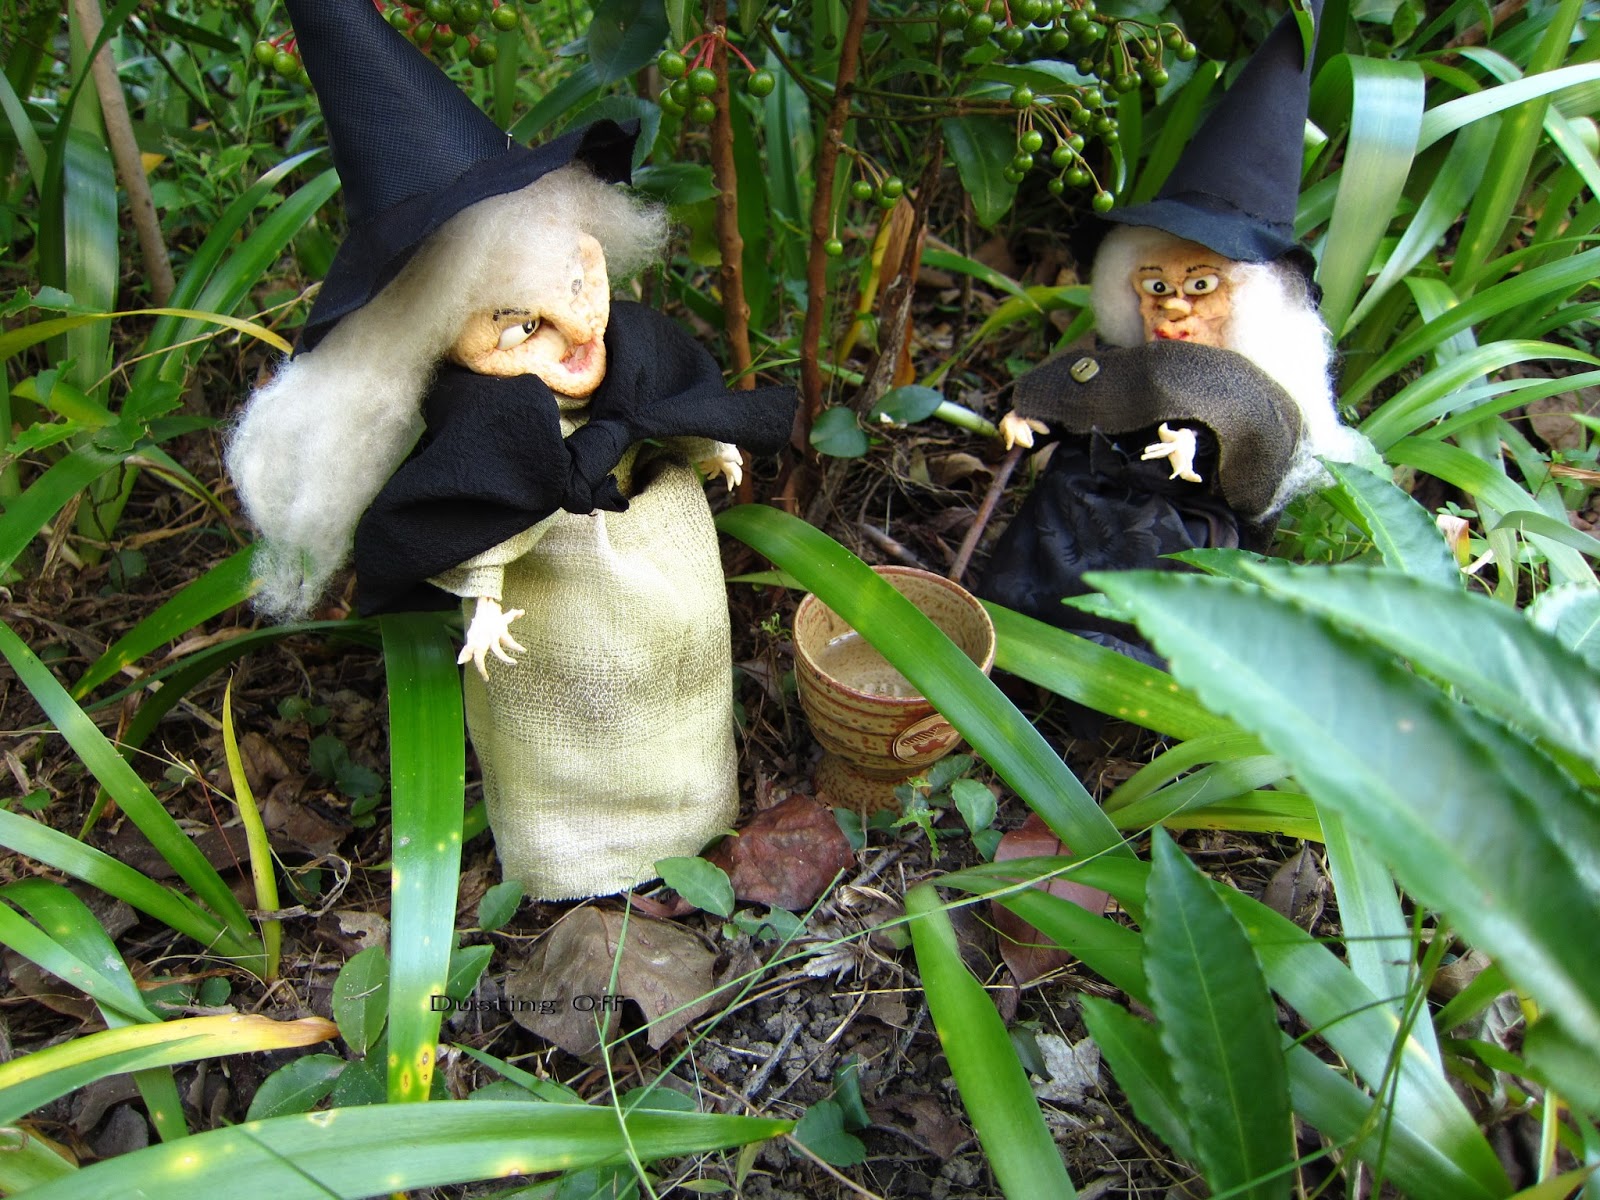

I even played around with them in the garden and let them stir up a brew!

Nag, nag, nag, when will the old hag be quiet!

Created in 2011. They actually held up for nearly a full year!
No comments:
Post a Comment