
For Christmas 2010 I decided I wanted to make a doll for my little granddaughter. Well, actually I visited several toy stores first before deciding that toys just aren't as nice as the ones I was able to find when my own kids were little. So I looked on the web for some inspiration on how to make a handmade doll. That's when I came across instructions for making Waldorf dolls. I'd never heard of them before as I was living in something of an information vacuum here in Japan for a few decades! So pardon my ignorance...
Step one, amass materials to work with. I already had basics such as silk thread, scissors, marking pencils, embroidery floss, thimbles, and cotton batting. So, I just needed to find some nice fluffy wool, new socks in neutral colors, and specialized needles for the project.
It's been nearly 3 years since I made the doll so at this point I'll need to find another website to refresh my memory on some of the nitty-gritty details. But, basically you create a ball from the wool. I used some cotton batting as a base before surrounding it with the wool as I didn't have a lot of wool to start with and I'd made a trip into the city to search for what I did have.
Then, you create cranial and facial definition by wrapping thread (or string) around that woolly ball. The first length of threads (or string) goes around the ball vertically, right at the central point, a couple of times, and is pulled tight. Then, you wrap the next length of thread (or string) horizontally about 2/3 of the way down a couple of time, pull tightly, and tie off . If I remember correctly, you need to add a few stitches through the ball to hold those threads (or strings) in place.
I found that without a nose I thought it looked a bit creepy so added a bit of extra wool for that and stitched it in place. After that, you place the sock over the ball of wool, tie the neck tightly with sturdy yarn, and embroider on eyes and a mouth. You'll only need a few stitches to create those facial features on the sock as the inner woolly ball is a bit of magic! Place the stitches thru the head and tie off in back. That will be covered over when the hair is added on.

The second sock becomes the legs and torso.

You snip the sock which creates the head down to about the heel and then stuff it You'll soon use the excess so don't throw it away!
First, stuff the feet of the doll with little round balls of wool to form feet. Add the head and continue to stuff the torso with the extra wool to make it soft and cuddly. Stitch the head to connect on to the torso. Use the foot portion of that first sock to create arms for the doll. Stuff the hands with a little ball of wool each, then stuff the arms, and stitch them down to the torso.

Hey, that wasn't hard at all!
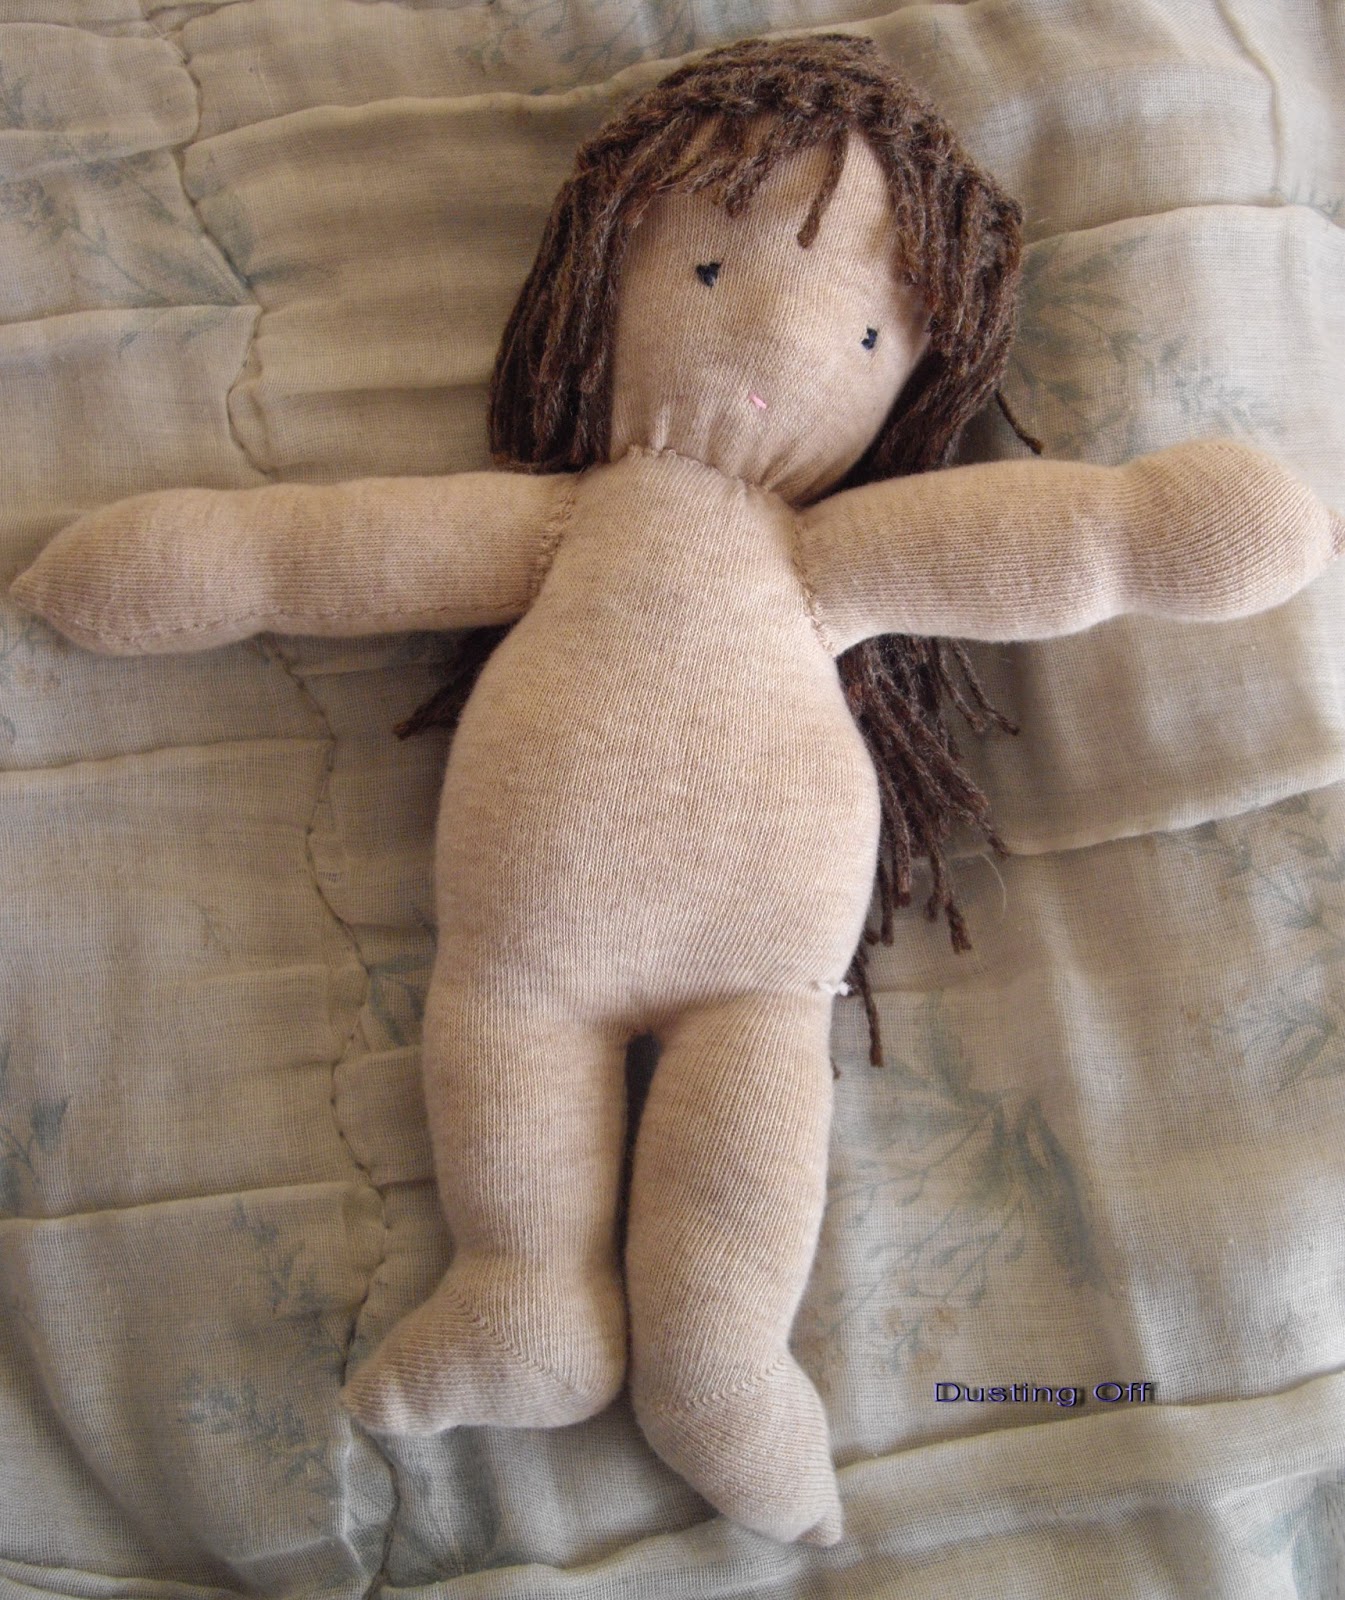
Now add some hair.

How about a touch of reality with a tush?

I gave her a belly button too! I wasn't sure how far to take the gender identification bit, though.

Finally, she needed some clothes. As I had started out with a pack of socks that included cream and pink tones too I used them to make her little outfit.
I thought it came out fairly well for my first attempt. Now that I've given myself a refresher course by writing this up, I'll need to set to work sometime in the coming months to make another for my second granddaughter.
This doll was created in 2010.
No comments:
Post a Comment